Rockstar Game Tips: Perfecting Your GTA Online Races with the Creator
With access to some of the very same tools that our developers use to create GTA Online Jobs and now with
over 2.5 million created thus far at Social Club, fans have certainly been putting the Deathmatch & Race Creator to work.
Our latest edition of Rockstar Game Tips is designed to help you get the most out of the Race Creator, with some general guidance that should ensure your Races are intuitive and fun to play. Many of these tips are in direct response to questions and comments we've received at the
gtaonline@rockstargames.com email address, where we're constantly reading your feedback about all things GTA Online as we continue to grow and refine the experience. For avid Creators out there, read on for Race game design pro tips including some do's and don'ts specifically suggested by our dev teams who are on the lookout for standout Jobs with
Rockstar Verified potential. Definitely take note if you're aspiring to join that illustrious group with one of your custom-made Jobs.
For those yet to jump into the Creator, we're leading off with a guide to getting started, and be sure to look out for a future Game Tips article covering Deathmatch creations very soon.
Getting Started
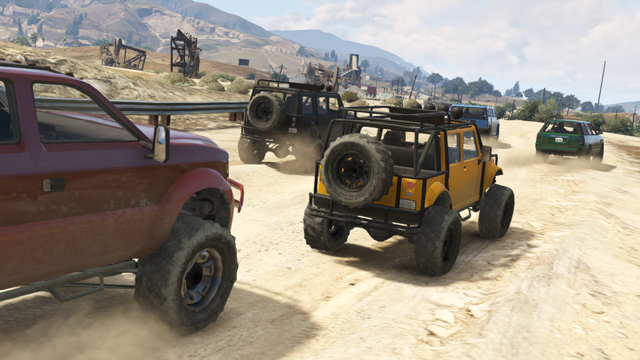
Your first decision is to settle on which kind of Race you would like to build. Over and above deciding on a Land, Sea or Air Race, is it going to be a multi-terrain endurance on two wheels, a coast-to-coast sprint in classic sports cars, a jet stream through the city to test those knife flying skills, or something else entirely? Knowing this from the outset will give your Race a sense of identity that you can work towards when creating it.
In the Race Details Menu, you can set a range of parameters, including available vehicles, time of day, number of laps and weather. And don't fret: all of these details can be adjusted later on should you change your mind or discover something's not quite right during play-testing.
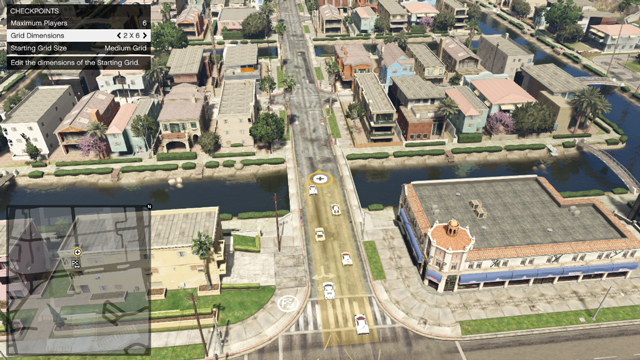
Get off to a good start with your starting grid placement.
Location, Location, Location
Your first step in creating a Race is placing a Trigger. This is where players will need to go in Freemode to start your Race and also the approximate area where the Starting Grid will be. If you're currently far away from where you'd like to start creating, just hit the Start button and select where you'd like to be on the map to head there instantly. You can also take a shot for the Lobby Camera, selecting the backdrop where players will gather before the start of the Race.
Your next port of call is to lay those all-important Checkpoints that will mark out your Race route. You can navigate around the game world using the left stick to move the camera, the right stick to pan and the L2/LT and R2/RT buttons to zoom. Take your time and carefully consider what terrain and locations you want your Race to cover, especially considering the Vehicle Settings you decided on in the Race Details Menu (although these can be changed at any point).
If you want to insert a new Checkpoint between two already existing ones, make sure the new Checkpoint is touching the blue line that appears on screen between the two previous ones, otherwise it will be placed at the end of the Race. The blue line will be highlighted yellow to indicate that you’re going to insert a checkpoint between two already existing ones.
If you select Laps as your Route Type in the Race Details Menu, then bear in mind that your Race layout will need to loop back on itself to work well. If you select Point to Point, then the final Checkpoint you place will automatically become the Finish Line. Note that all Races must be at least 0.62 miles and you must have completed at least one full Test (although we highly recommend doing more than just one Test of course for proper due diligence) before you can Publish.
Perfect Placement
Creative placement of Props, Weapons and Boosts is your opportunity to add to the existing layout of the game world and come up with something truly unique, so play around with it!
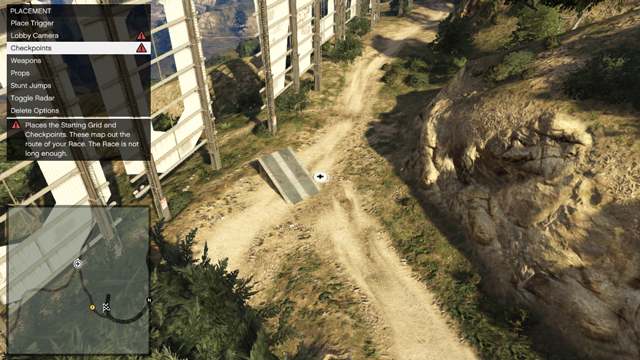
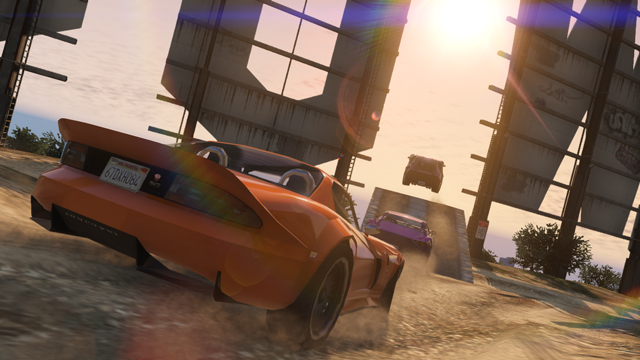
For those who choose to play it as a GTA Race, you can place Weapons, Health and Boosts along your Race route. These can all be found in the Placement > Weapons Menu, while Props can be found at Placement > Props. Smart placement allows you to block off a bridge, build a jump to add a little Vinewood spectacle to proceedings - or anything else your imagination can summon. You can also place a Stunt Jump so that the camera will cut to a special angle when going over a specific ramp. To do this you will need to place two markers - one at the end of the ramp, where players will take off from, and one to set the position of the Stunt Jump camera. The camera's height can be adjusted by pressing the analog sticks.
Find the ideal place to drop a sweet jump...
Land, Sea or Air?
Creating Land Races and Sea Races follow a similar process other than the obvious distinction that Land Race Checkpoints can only be placed on solid terrain and Sea Race Checkpoints can only be placed on water. Also be aware that certain Props can only be placed in certain areas: Buoys and Water Ramps, for example, are designed specifically for the wet stuff.
When creating Air Races you also have to consider the height of each of your Checkpoints - you can raise each Checkpoint by clicking in the left stick and lower them by clicking in the right stick.


